Week 2 - Electronic Production
Cutting on the Mill
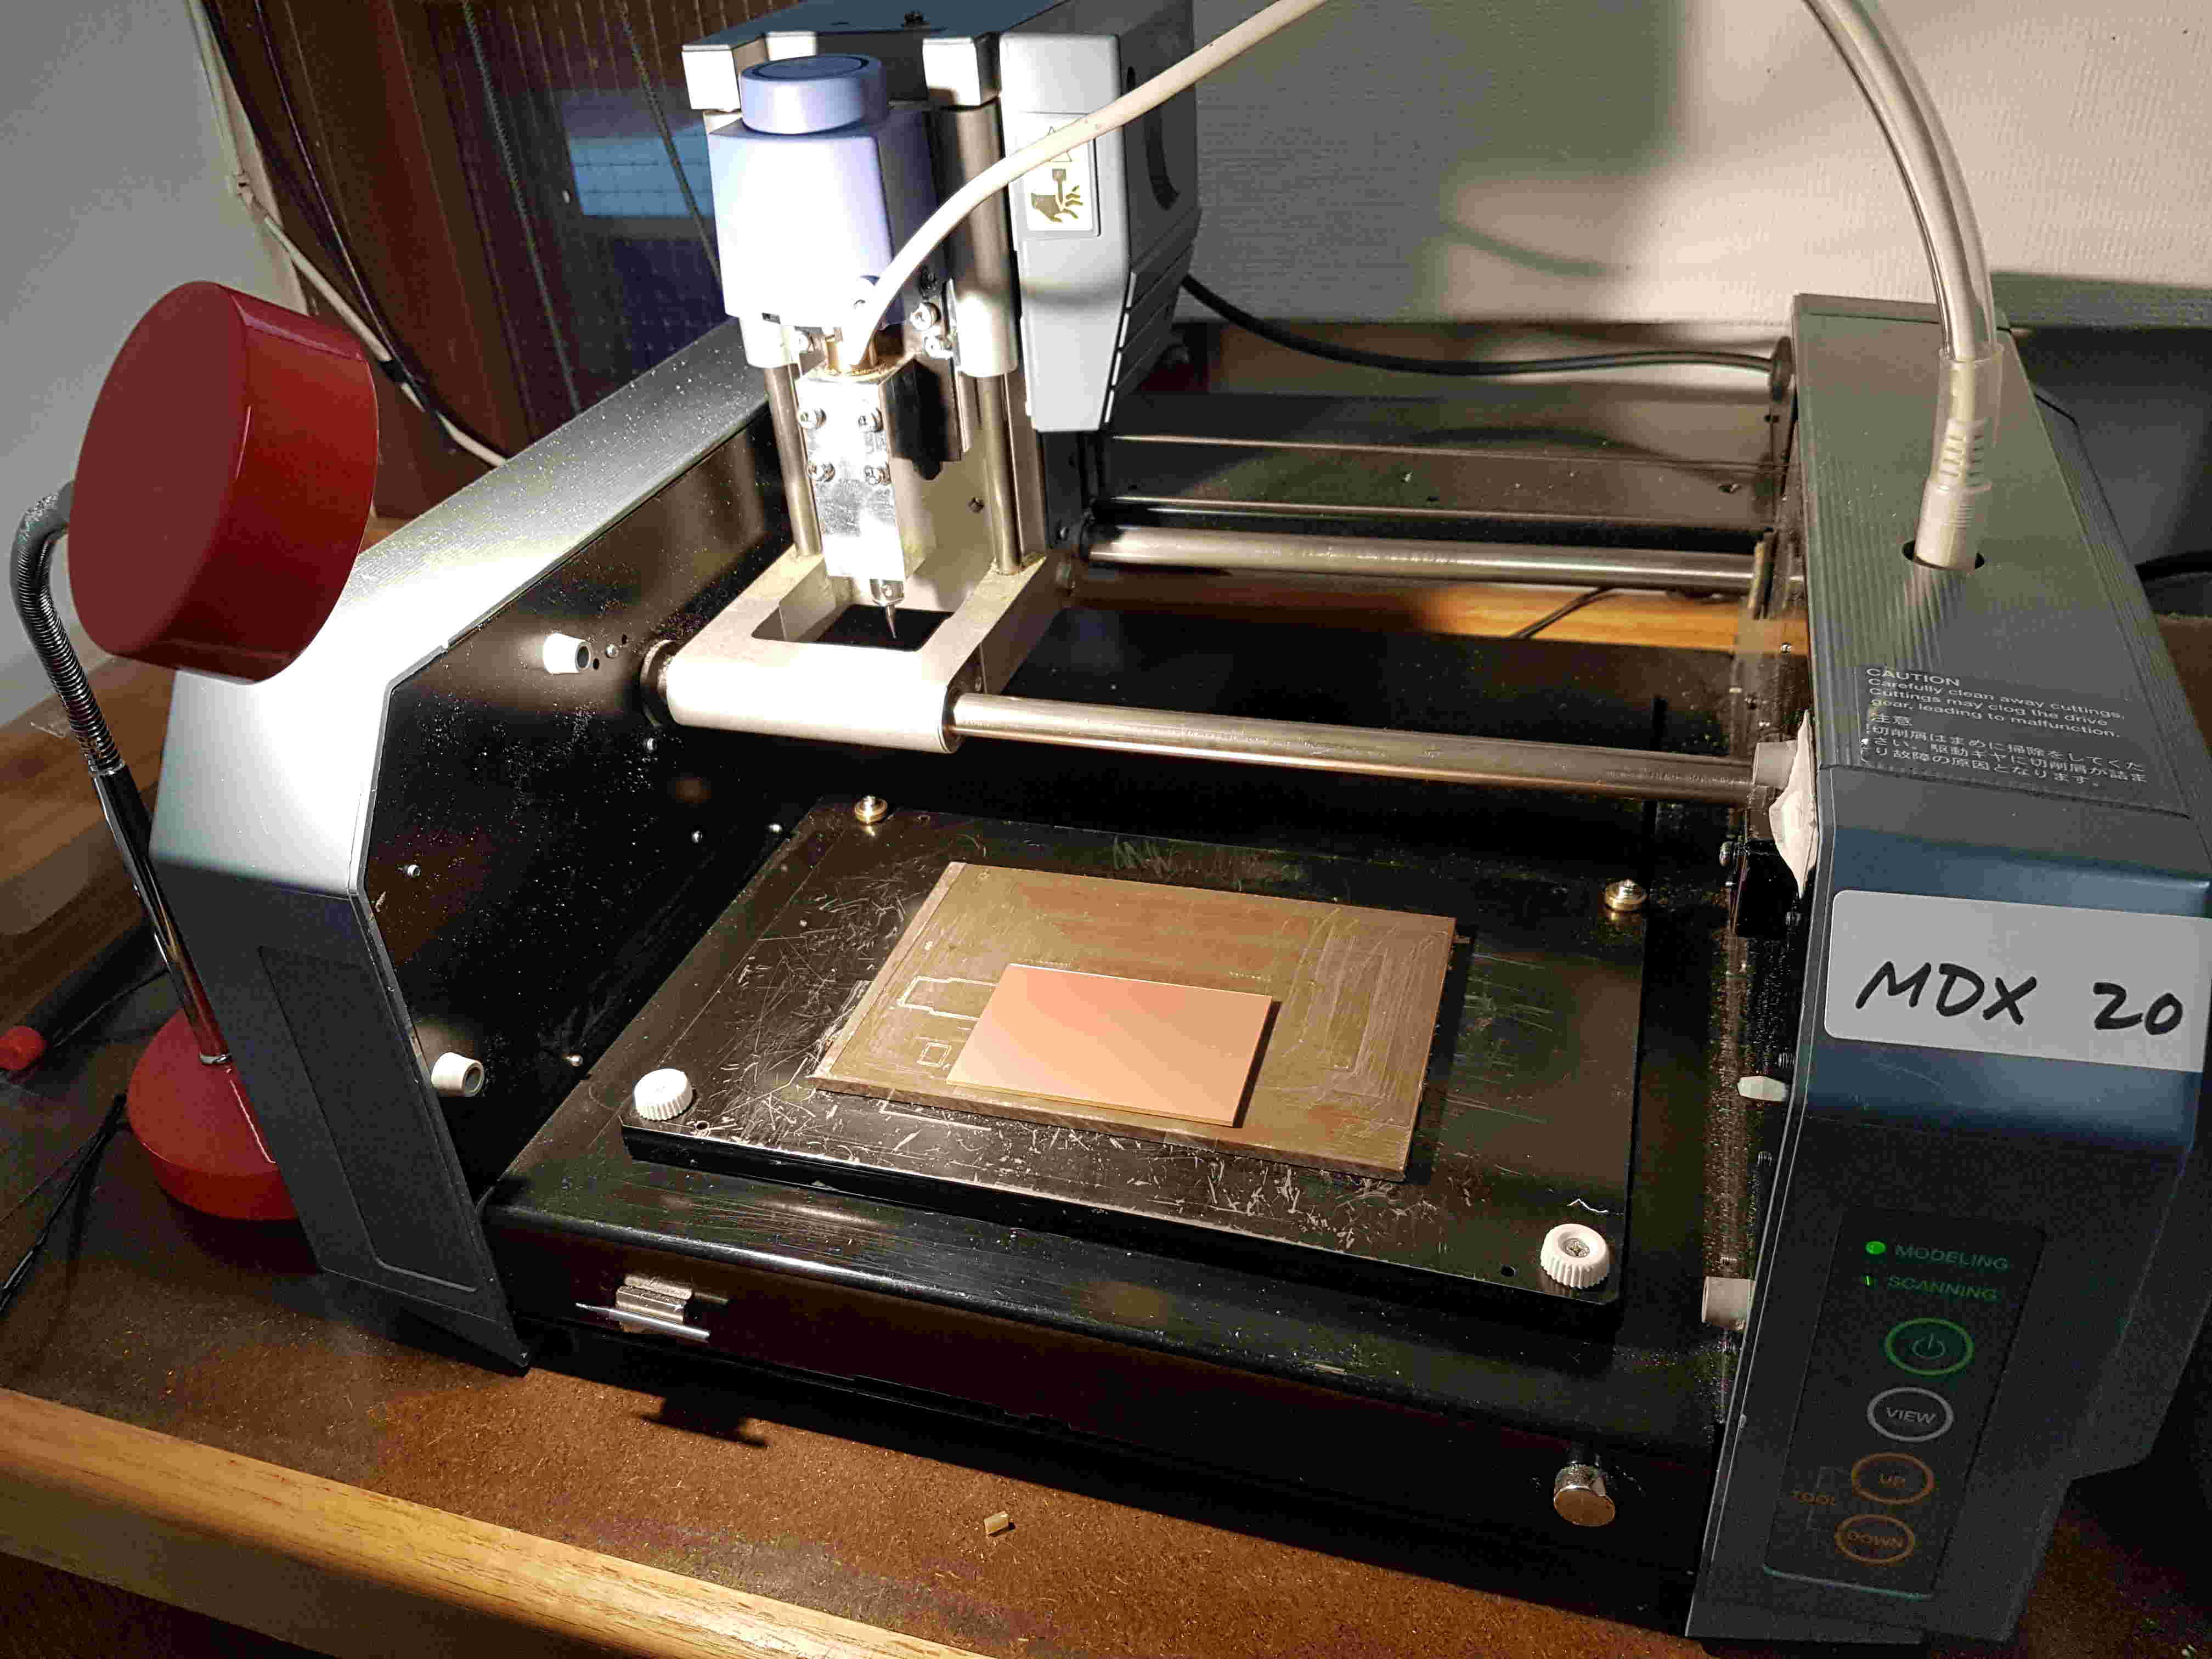
The traces and interior cuts for the board was downloaded off the course website. I decided to use Roland MDX-20 (mainly because someone else was using Roland SRM-20 at the time). The instrument was straight-forward enough to use, though I may have felt that way because Rob was in the office and checking in on us every few minutes. That meant that I got a working circuit board in one try. A few tips that I got from Rob include ensuring that the copper plate is securely taped onto the sacrificial layer (double-sided tape should not just be on the edges, but on the entire copper plate), cleaning the sacrifical layer with a single blade, and lowering the part of Roland MDX-20 that holds the mill such that not too much of the mill is sticking out (calibrating the z-axis). Here was my set-up before I started cutting.
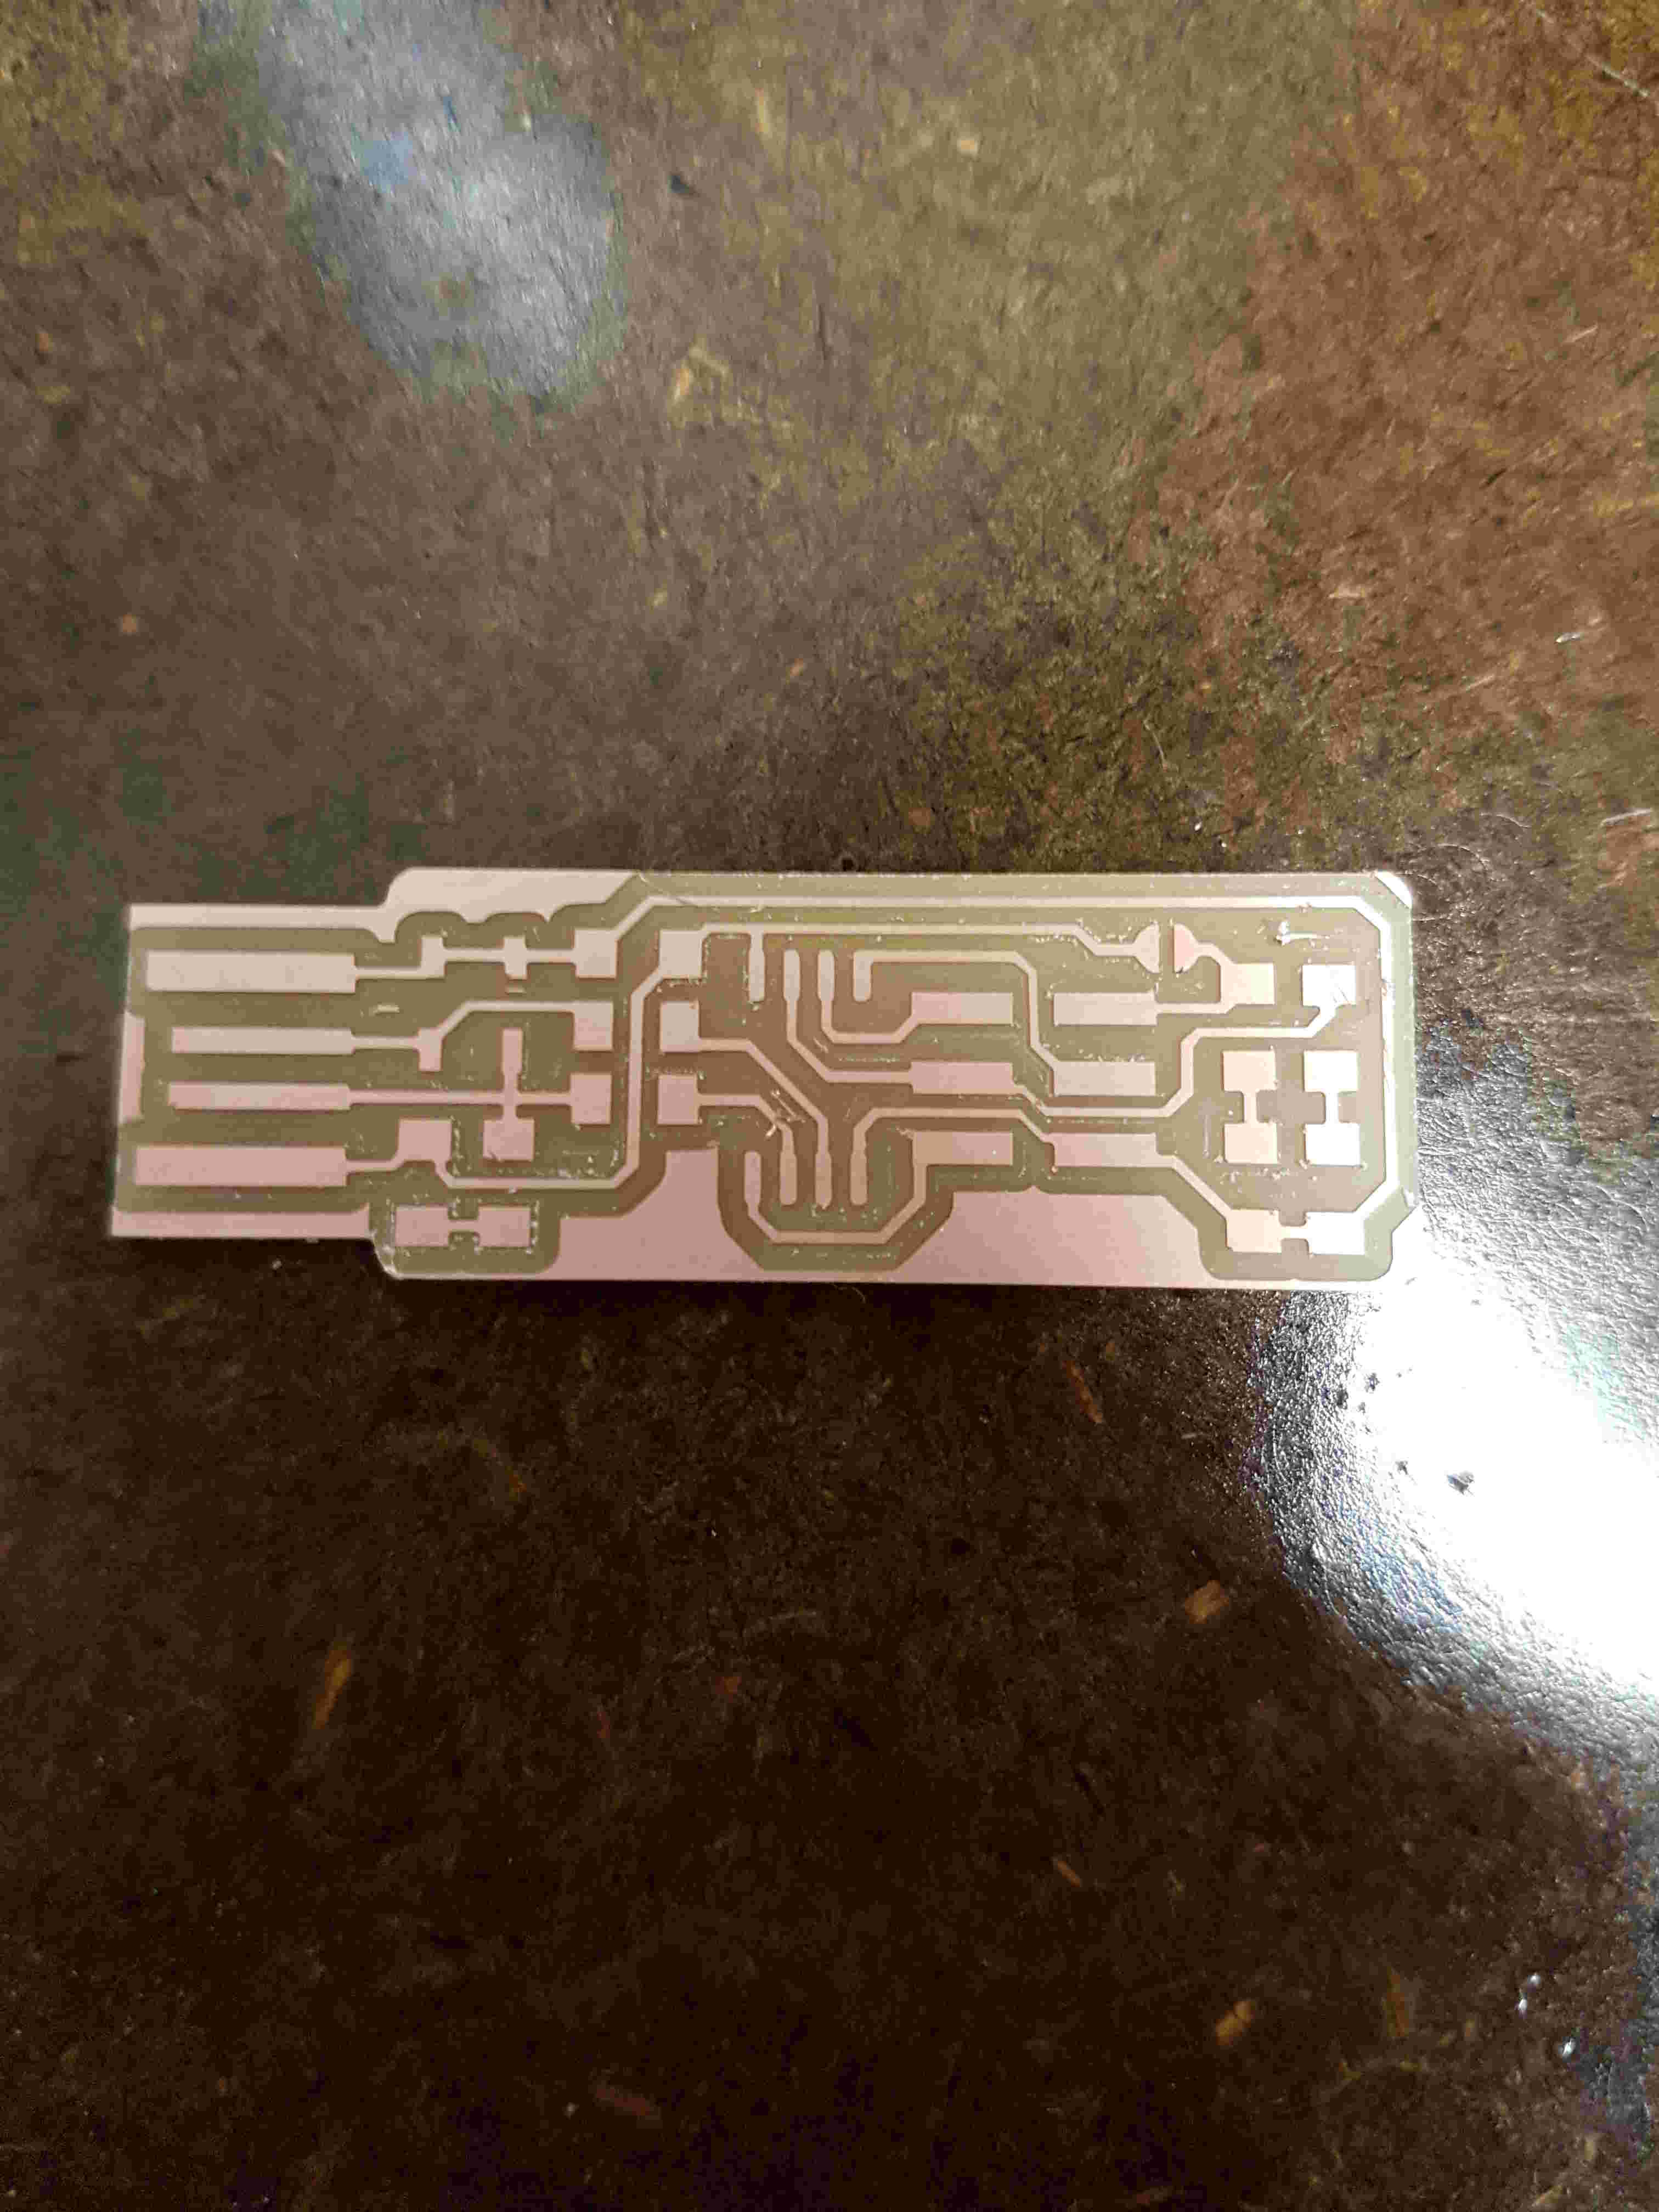
A 1/64" end mill was used first to cut the circuit traces, and 1/32" end mill was used to cut the outline. The circuitboard cut well on the first try! I was afraid when cutting the outline that it would cut into the circuit traces, but the machine was suprisingly very precise.
Soldering
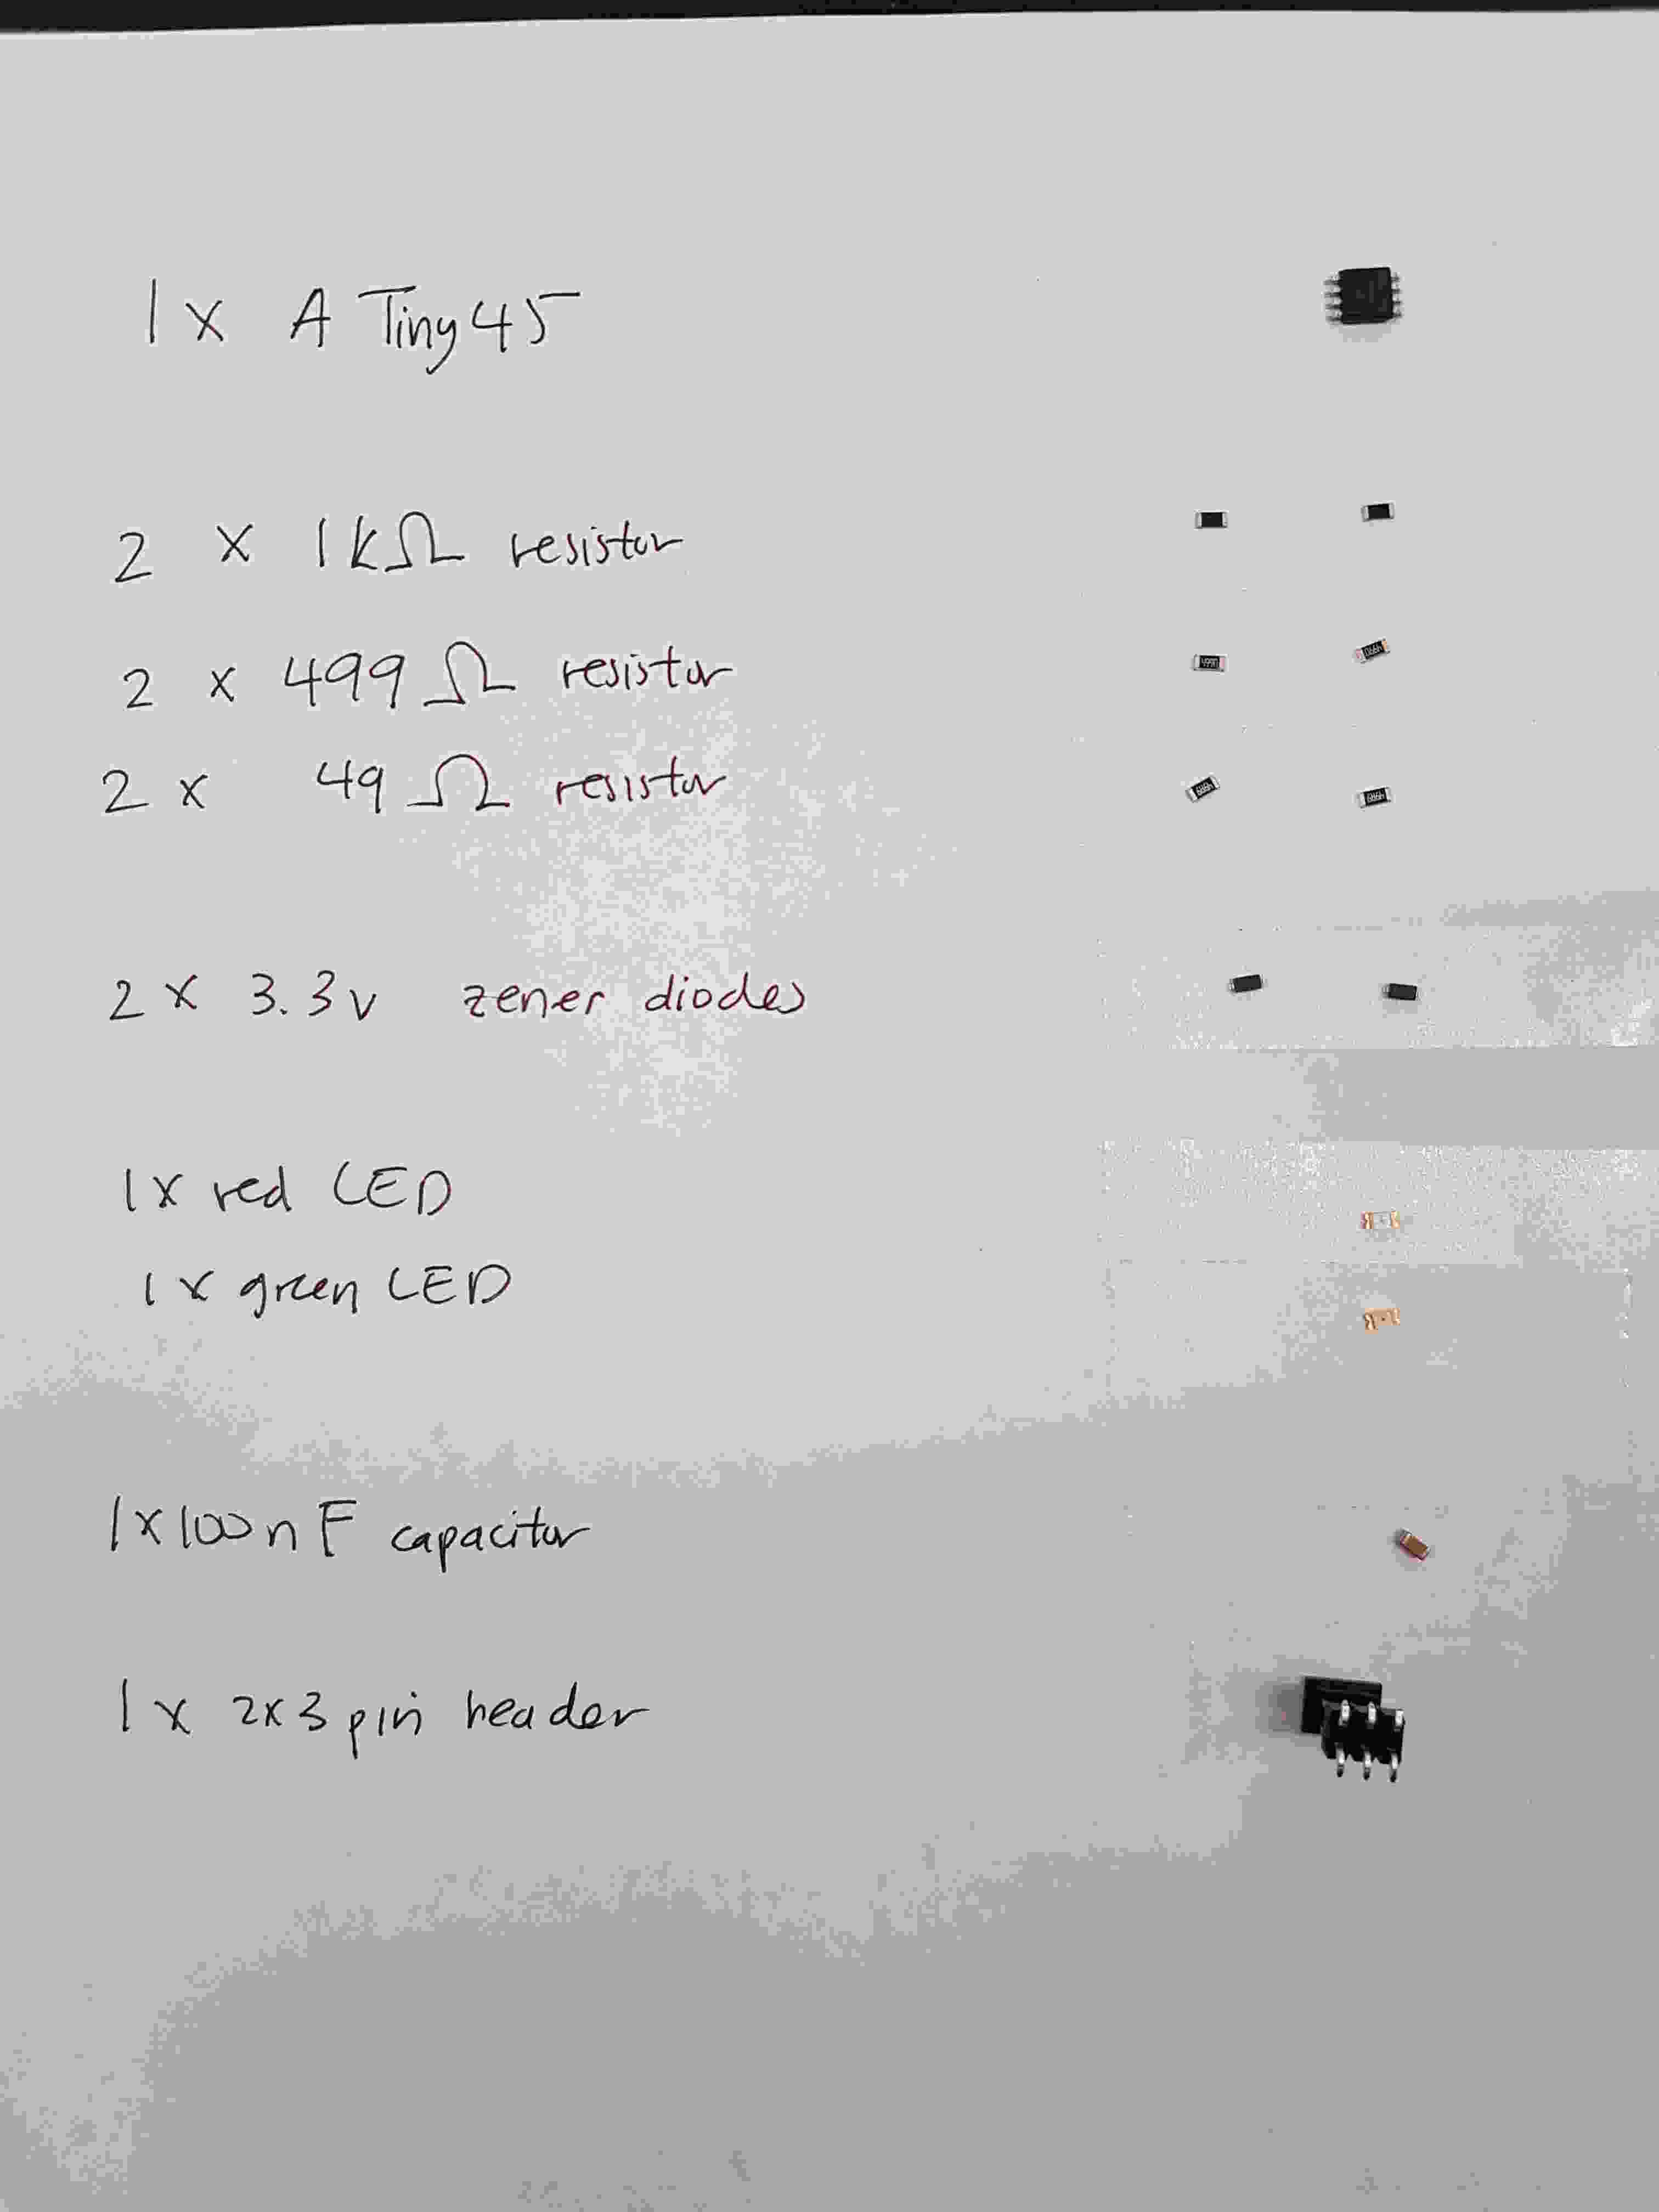
Once the circuit board was made, the next step was to solder. Another trick from Rob was to pre-arrange all the pieces that needed to be soldered using simple pen, paper, and double-sided tape. See my arrangement of pieces below.
As I had never soldered before, I practiced soldering a few pieces onto a spare circuit board lying around the lab. My soldering consisted mainly of lumps initially. I finally learnt that you needed to put the soldering tip on the copper plate first, then slowly bring the solder down to the tip (vs. heating solder first and bringing the heated solder down towards the copper plate). Luckily, all the pieces soldered on correctly on the first try.
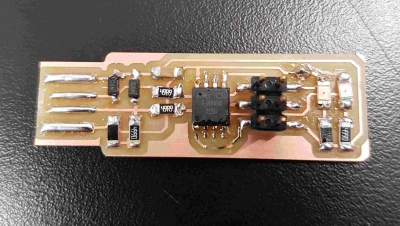
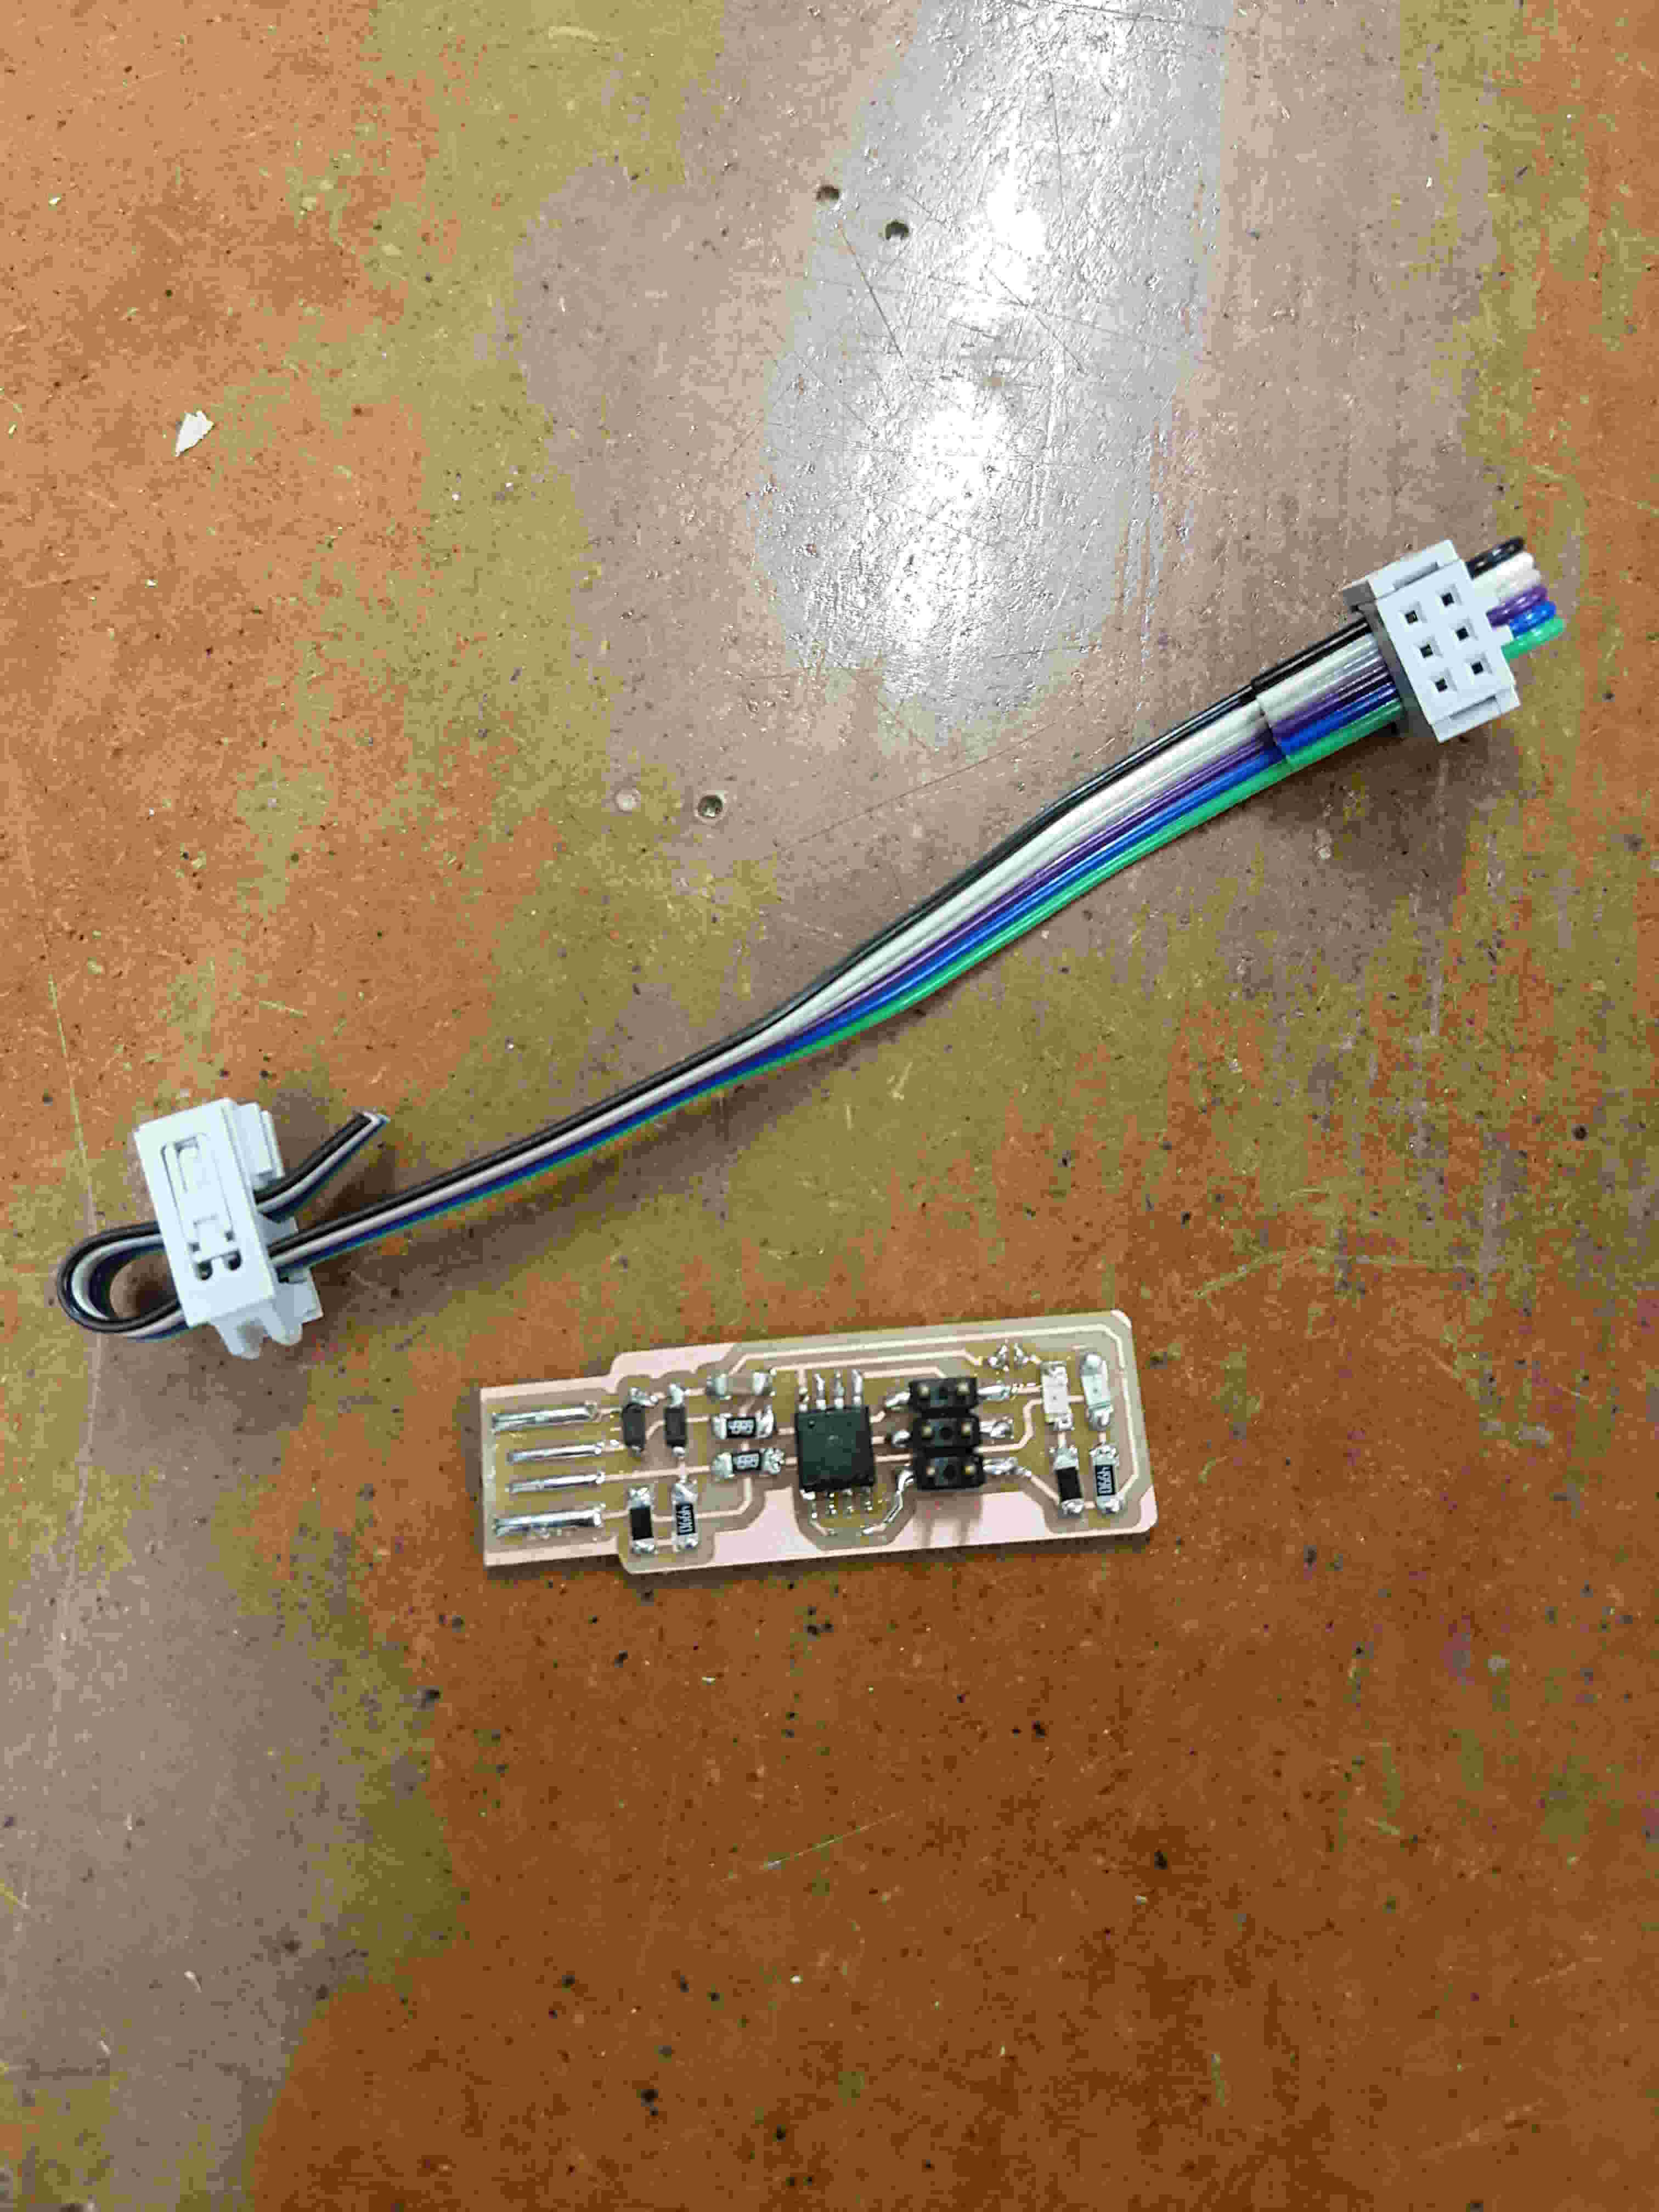
The final part of this week's assignment was to make the ribbon cable and program the circuit board. This involved uploading a firmware to the device via another device. Once the device was prepared, a blob of solder had to be desoldered. We now have a TinyUSB!